Last Updated: 10/05/23
Applies to:
Migration Wizard users.
Solutions Overview:
Explanation of how to work with the new functionality (Options for values) while creating custom fields within mapping.
Tactical Rundown:
You can change the options for the custom fields in the mapping now.
Previously the custom fields could be created, based on the source CRM field. Now we can modify them, add new ones or delete them. The variety of options increased.
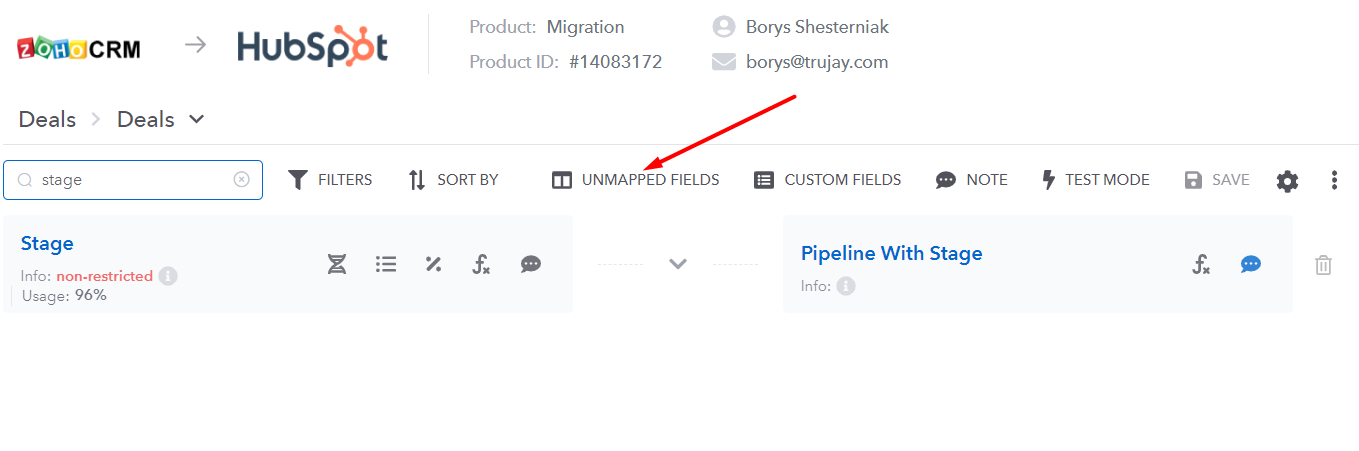
If you would like to create a custom field, let’s say, for the migration where the target CRM is HubSpot, for the Deals object (the field is Pipeline with Stage), then you need to click on Unmapped Fields first:
Then you click on “Stage”, then “Add custom field”:

After that - in the new window you can select the type of field (for example - Drop-down select/ date picker / multi-line text)

You can see the Label of the field, Internal name, and Options. Within Options - you can do various actions here: delete the label with the value, change the name for them:

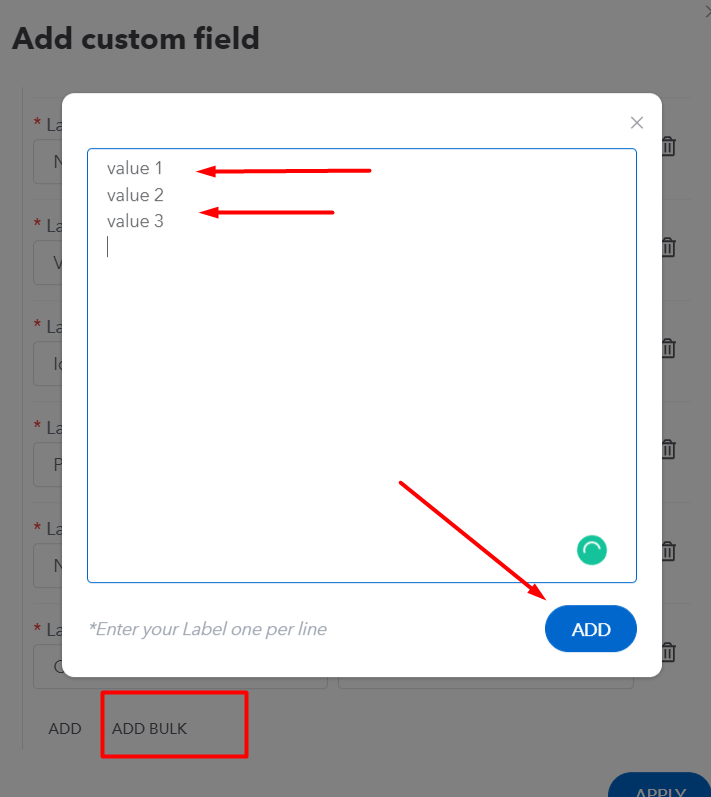
If you scroll down to the bottom of the page, you will see the buttons: “Add”, and “Add Bulk”. If you click “Add” - it will create a value below. You need to name it. The name for the Label will be automatically set to the Value field.

If you click “Add Bulk” - it will allow you to add multiple Values. You need to add them to the list, one by one, starting from the new line for each one. See the example below (created Value 1, Value 2, Value 3). Then you click “Add”:
You can see the newly created values in the list. Click “Apply”, and they will be created and shown in your mapping. That’s it!

Still Need Help?
Please submit an inquiry on the contact page or email support@trujay.com.